HUGO So Easy (7) - 部署至 GitHub Pages
• 2 • 317
Table of contents
建立 GitHub Actions
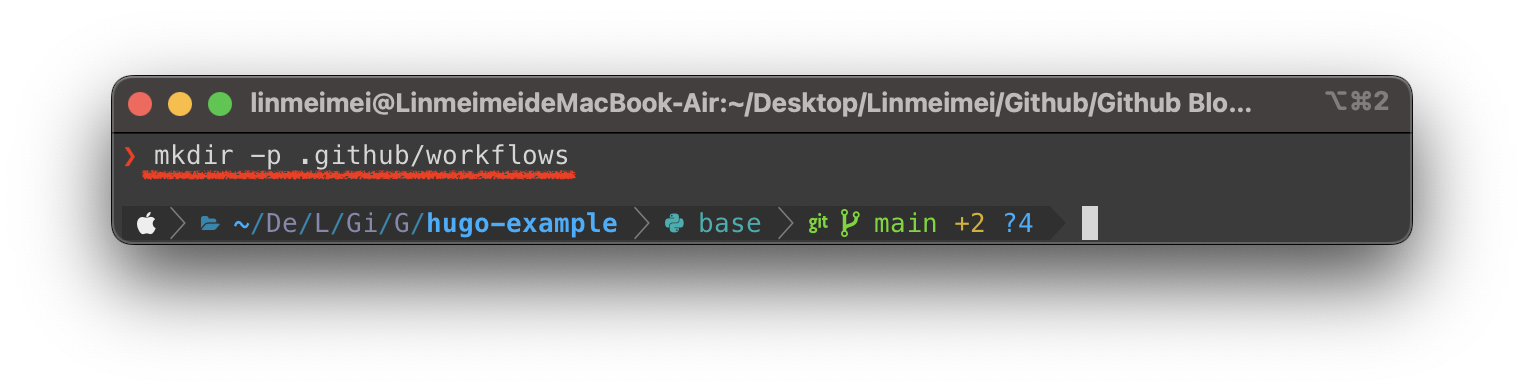
回到 Repository 的根目錄 (/hugo-example),建立 .github/workflows 資料夾。
mkdir -p .github/workflows
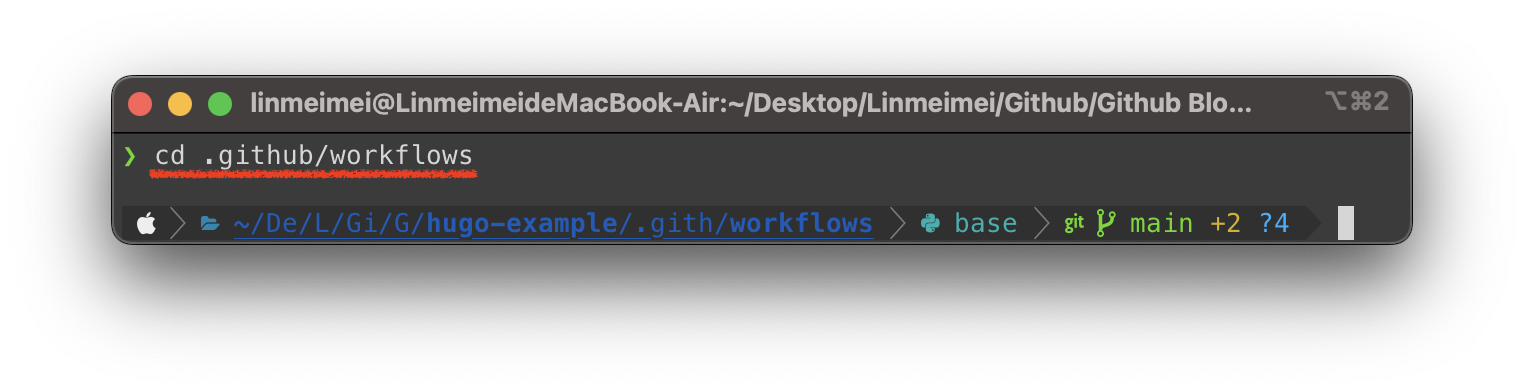
進入到 .github/workflows 資料夾內
cd .github/workflows
利用 vi 建立 GitHub Action 文件,這邊我們命名為 hugo.yaml
vi hugo.yaml
將下面的內容複製到 hugo.yaml 文件內,並且存欓
# Sample workflow for building and deploying a Hugo site to GitHub Pages
name: Deploy Hugo site to Pages

on:
  # Runs on pushes targeting the default branch
  push:
    branches:
      - main

  # Allows you to run this workflow manually from the Actions tab
  workflow_dispatch:

# Sets permissions of the GITHUB_TOKEN to allow deployment to GitHub Pages
permissions:
  contents: read
  pages: write
  id-token: write

# Allow one concurrent deployment
concurrency:
  group: "pages"
  cancel-in-progress: true

# Default to bash
defaults:
  run:
    shell: bash

jobs:
  # Build job
  build:
    runs-on: ubuntu-latest
    env:
      HUGO_VERSION: 0.111.2
    steps:
      - name: Install Hugo CLI
        run: |
          wget -O ${{ runner.temp }}/hugo.deb https://github.com/gohugoio/hugo/releases/download/v${HUGO_VERSION}/hugo_extended_${HUGO_VERSION}_linux-amd64.deb \
          && sudo dpkg -i ${{ runner.temp }}/hugo.deb
      - name: Install Dart Sass Embedded
        run: sudo snap install dart-sass-embedded
      - name: Checkout
        uses: actions/checkout@v3
        with:
          submodules: recursive
          fetch-depth: 0
      - name: Setup Pages
        id: pages
        uses: actions/configure-pages@v3
      - name: Install Node.js dependencies
        run: "[[ -f package-lock.json || -f npm-shrinkwrap.json ]] && npm ci || true"
      - name: Build with Hugo
        env:
          # For maximum backward compatibility with Hugo modules
          HUGO_ENVIRONMENT: production
          HUGO_ENV: production
        run: |
          hugo \
            --gc \
            --minify \
            --baseURL "${{ steps.pages.outputs.base_url }}/"
      - name: Upload artifact
        uses: actions/upload-pages-artifact@v1
        with:
          path: ./public

  # Deployment job
  deploy:
    environment:
      name: github-pages
      url: ${{ steps.deployment.outputs.page_url }}
    runs-on: ubuntu-latest
    needs: build
    steps:
      - name: Deploy to GitHub Pages
        id: deployment
        uses: actions/deploy-pages@v1
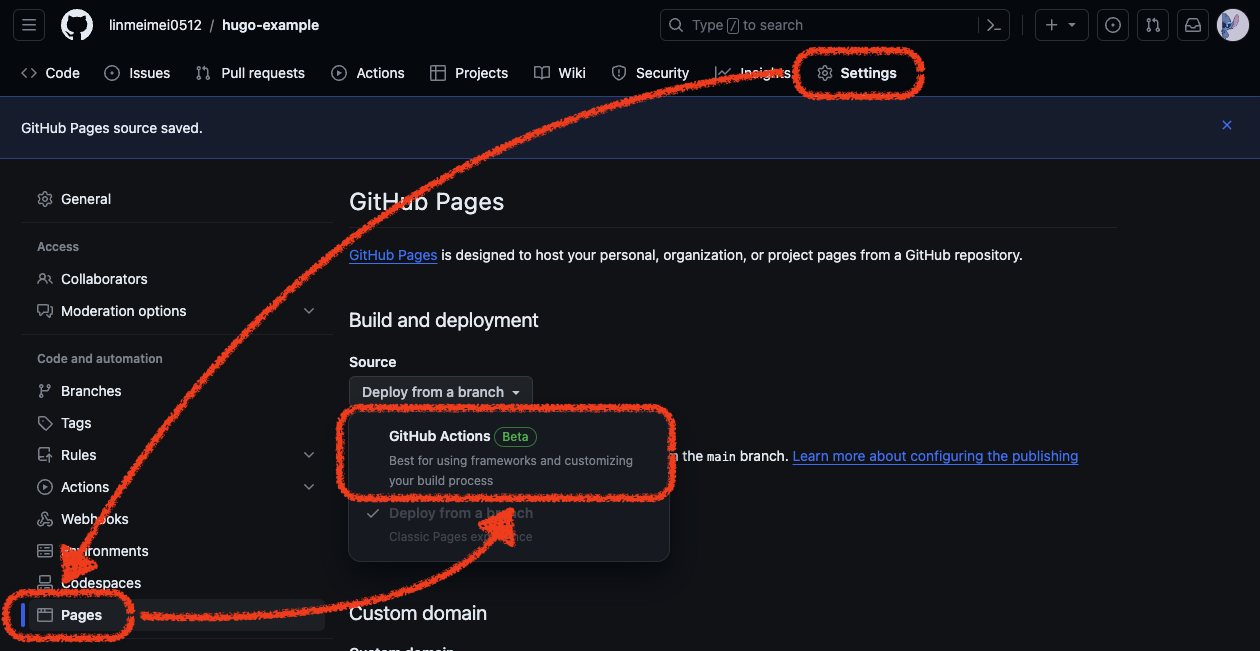
開啟 Github 頁面,點選上方的 ⚙ Settings,在點選左邊的 Pages,找到 Source 把他選成 GitHub Actions
將 HUGO 網站推送到 GitHub
這時其實我們已經建立好簡單的網站了,只剩最後一步推送到 GitHub 了
回到 Repository 的根目錄,只要簡單的三步驟就可以將 HUGO 推到 GitHub 嚕!
首先把所有檔案加入到要 commit 的清單中
git add .

接著來建立 commit,commit message 可以自己想要寫什麼
git commit -m {commit message}
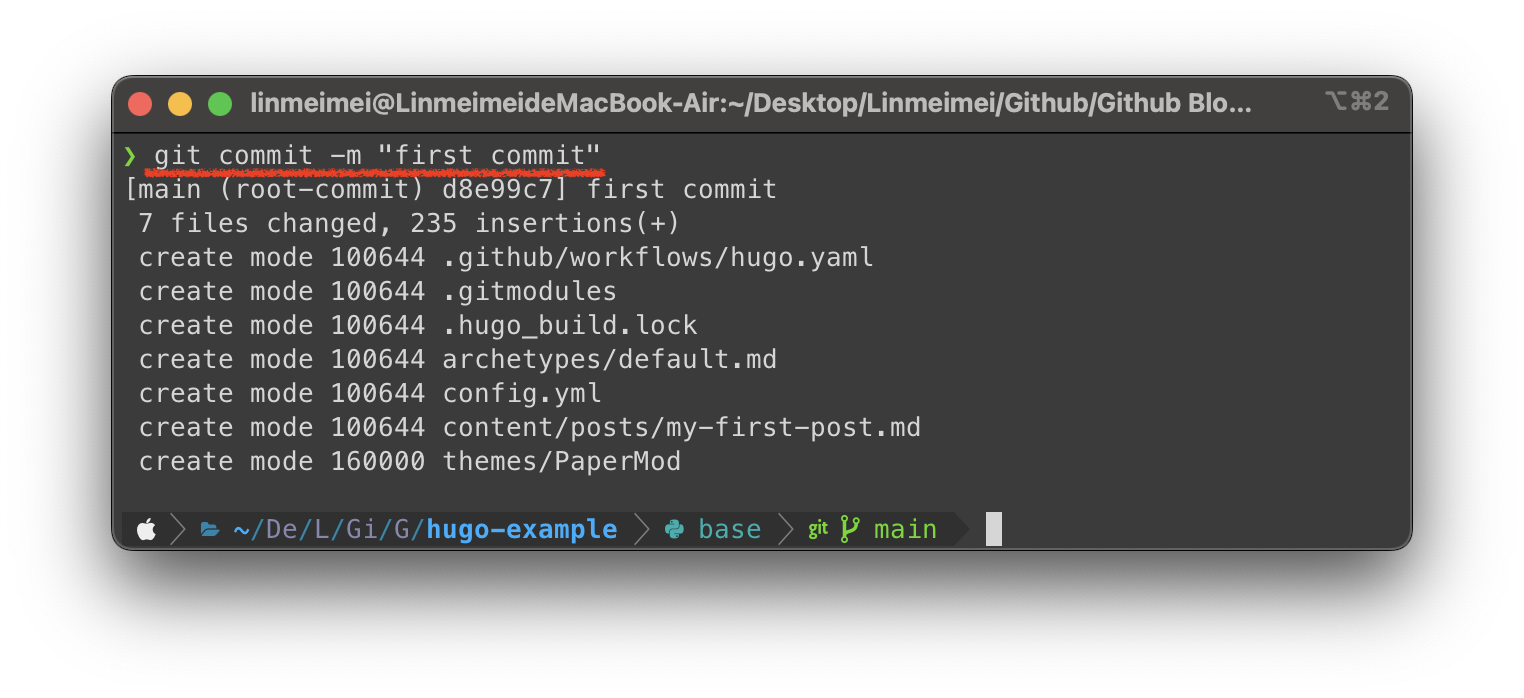
這邊我這樣下
git commit -m "first commit"
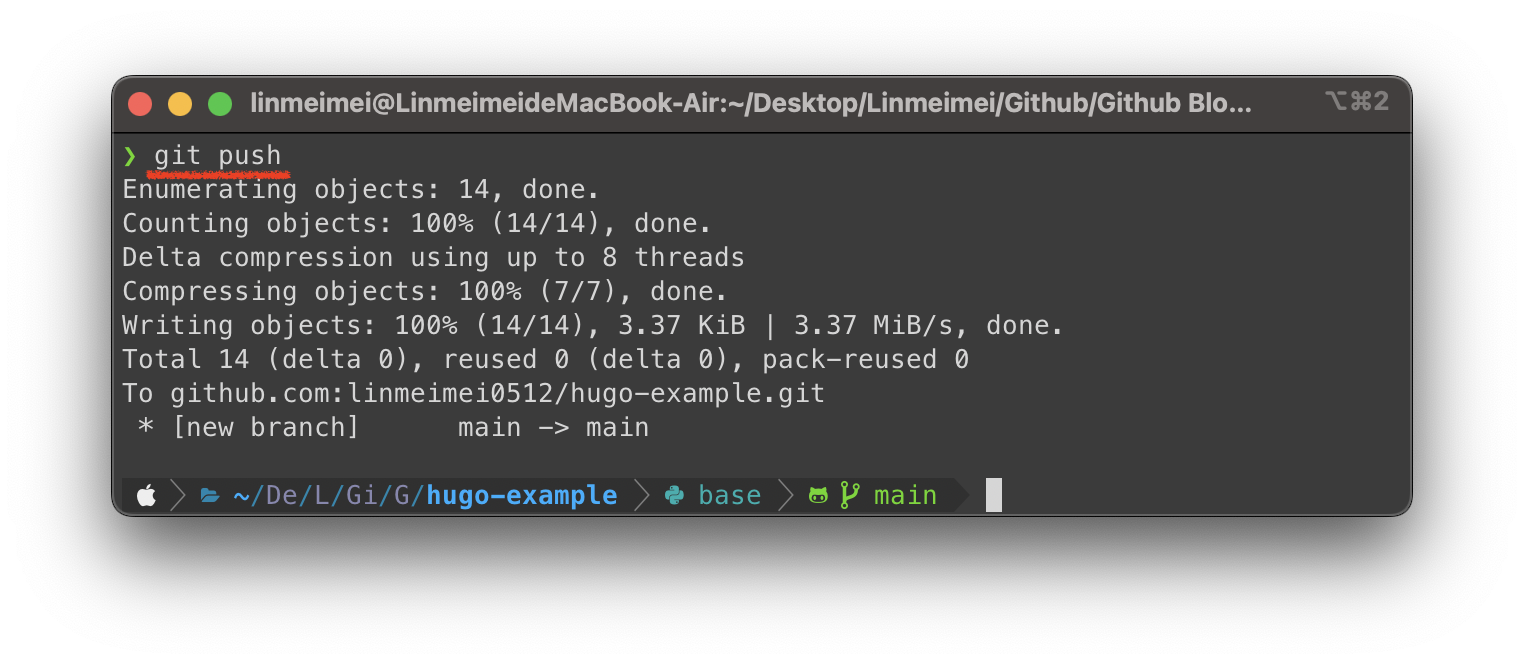
最後要來推送到 GitHub 了
git push
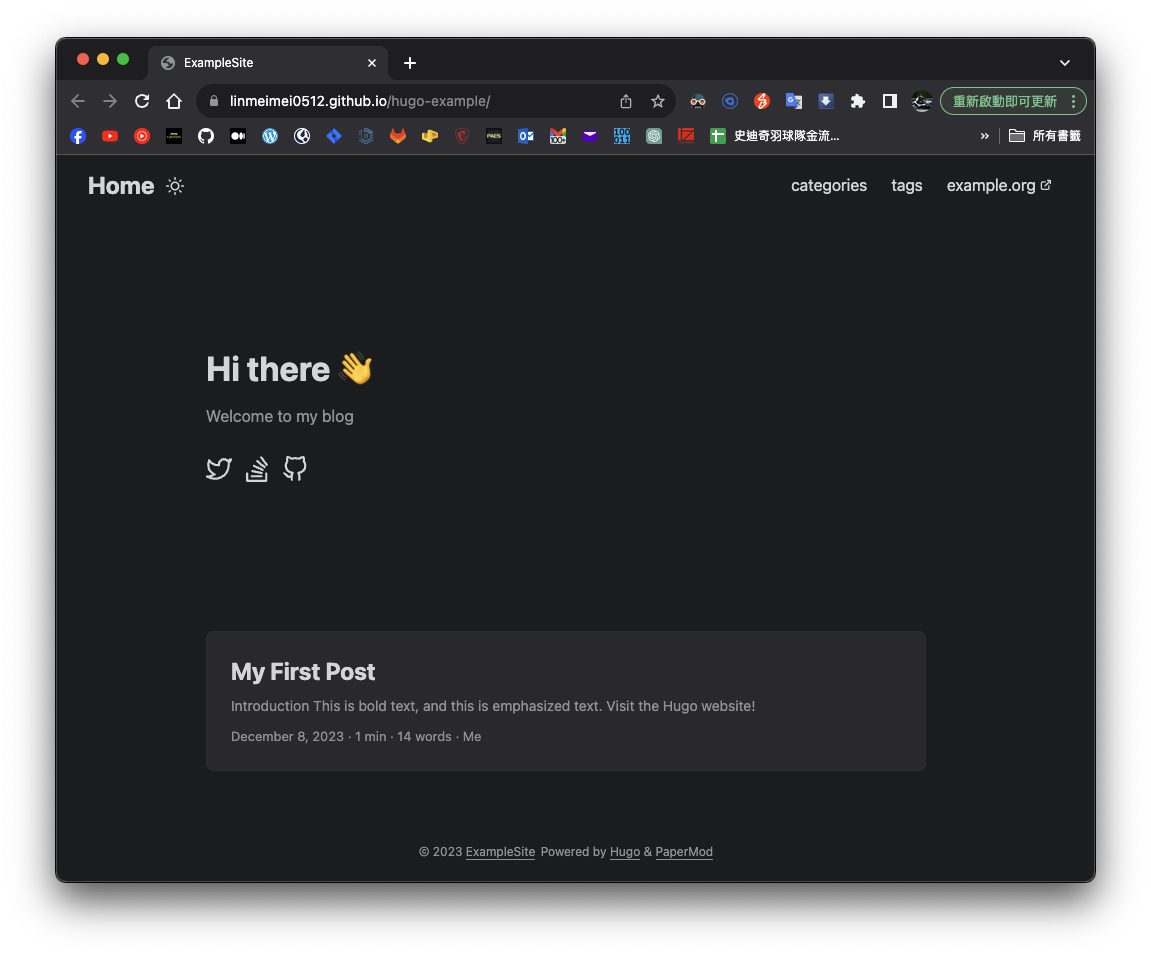
查看 GitHub Pages 發佈的網站
開啟 GitHub 網頁,點選上方的 Actions,選擇剛剛 commit 上去的內容

可以看到發佈的網址,用力的點下去

這樣我們就成功的發佈好個人的網站嚕!