
HUGO So Easy (5) - 套用 HUGO 主題模板
• 3 • 442
Table of contents
套用 HUGO 主題模板
有很多創作者有對 HUGO 製作主題模板,開啟主題庫
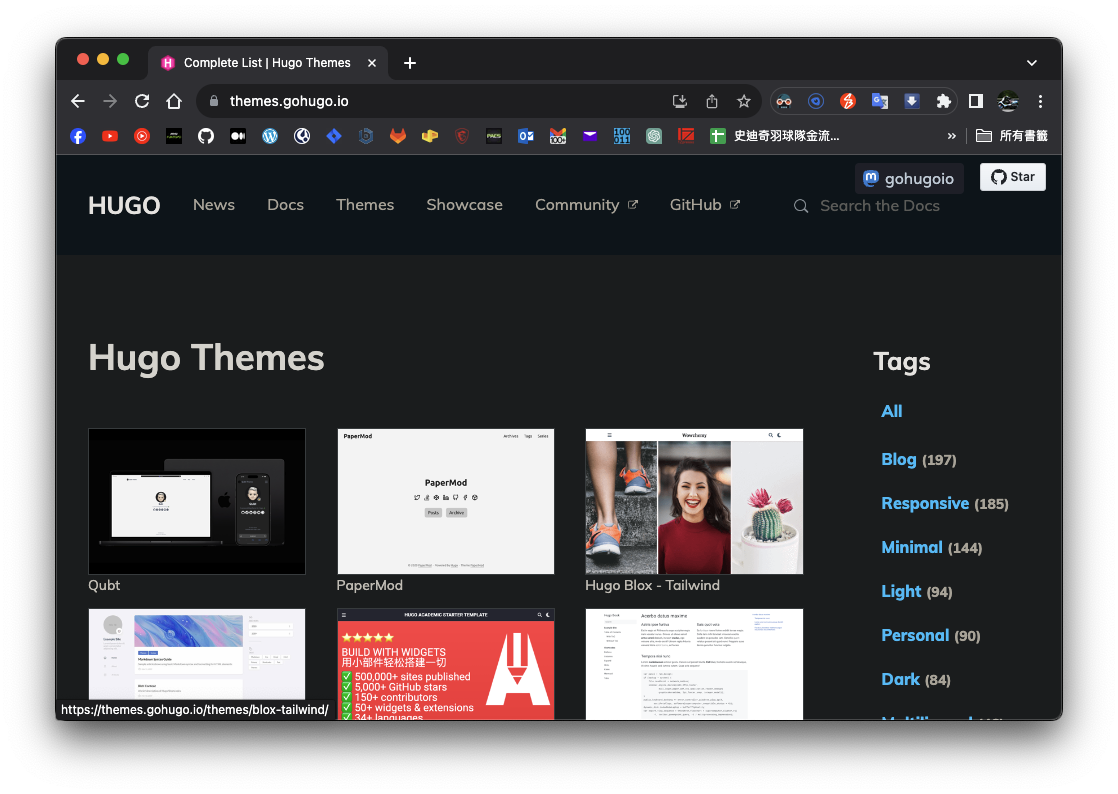
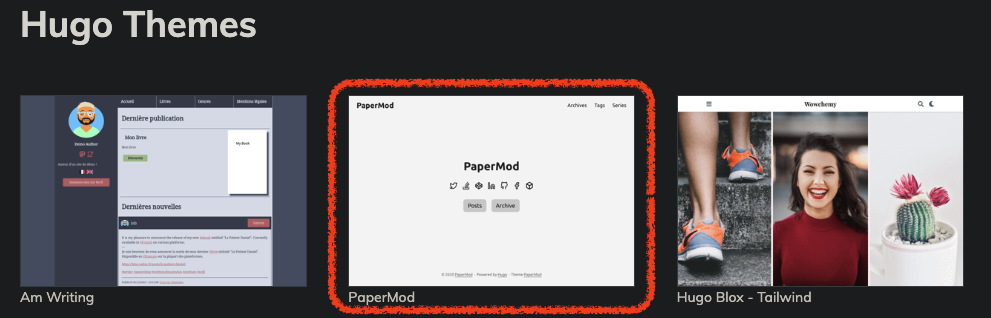
這邊我就先選一個 PaperMod 主題來做示範,大家第一次可以先跟我一樣選 PaperMod 來做練習,因為其實有些主題設定上比較麻煩,且有些問題
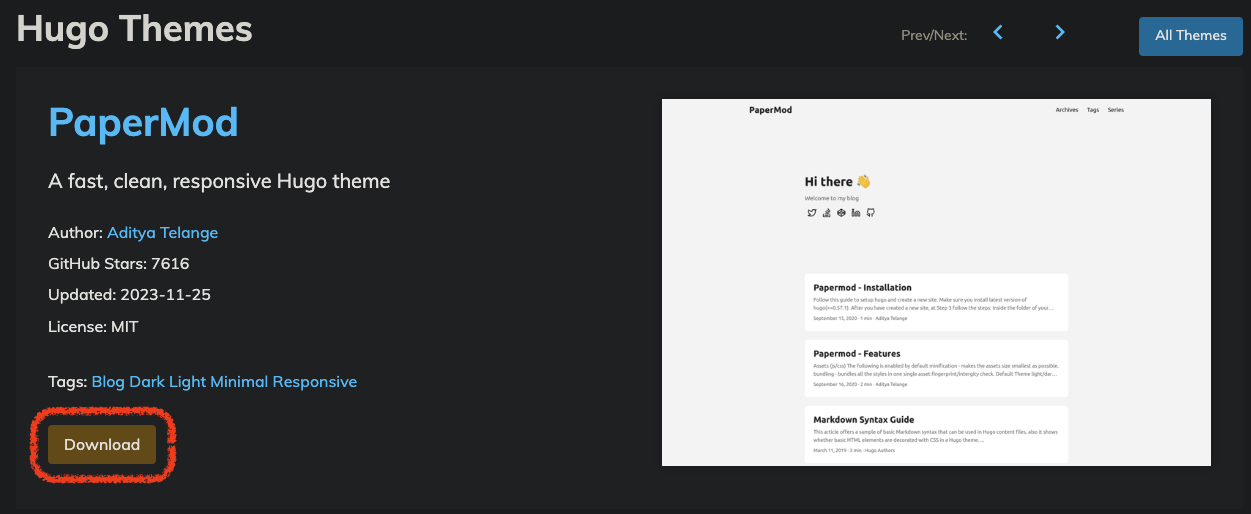
點進去 PaperMod
可以看到有一個 Download 按鈕,大力的給他按下去
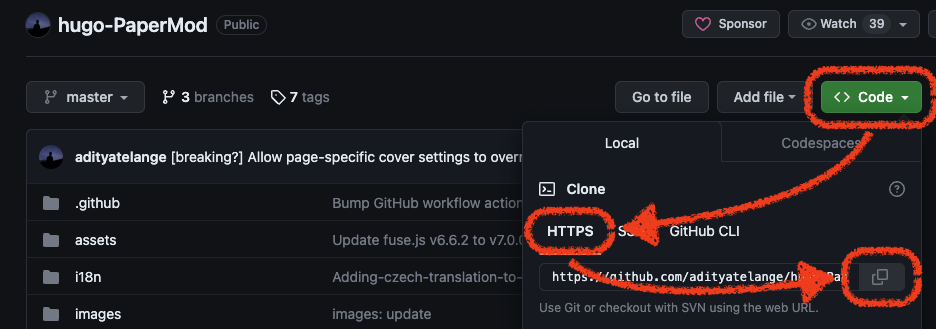
會發現是導到他的 GitHub 主頁。找到綠色的 <> Code 按下去,選擇 HTTPS (如果您有設定 SSH Key 也可以選擇 SSH) 然後按下右邊的複製,把 git URL 連結 複製下來
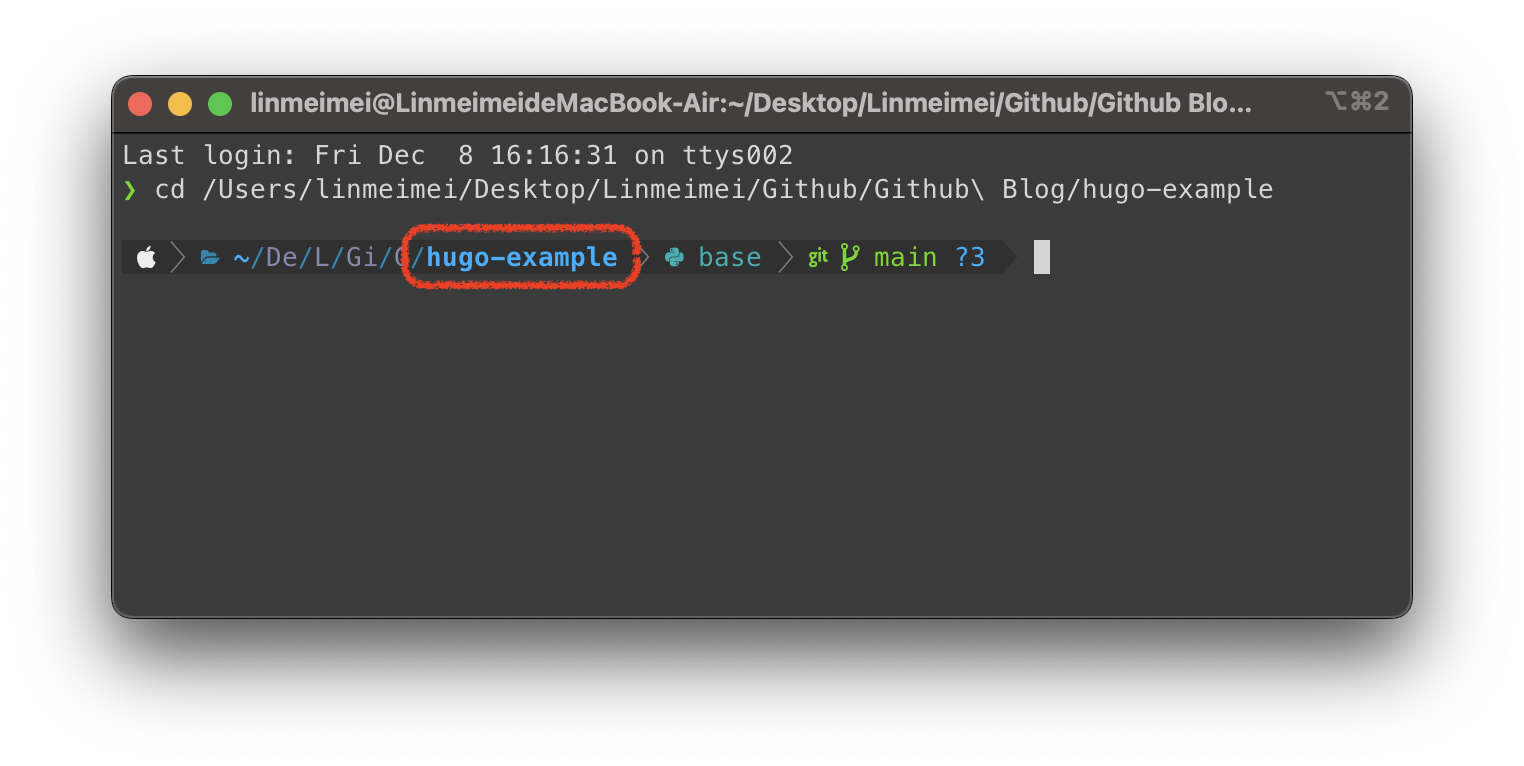
開啟終端機 Terminal 確定自己在根目錄
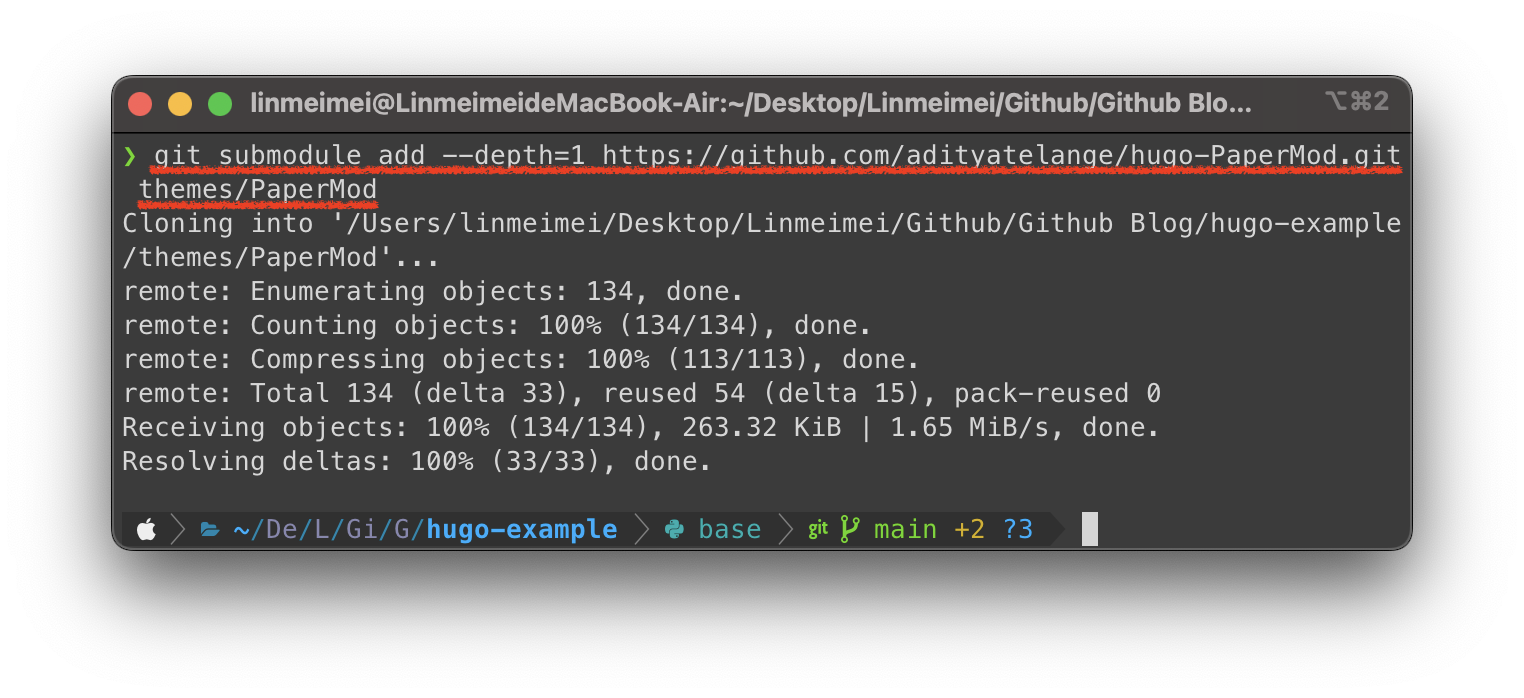
輸入
git submodule add --depth=1 {git URL} themes/{theme name}
git URL 就是我們剛剛複製的網址 https://github.com/adityatelange/hugo-PaperMod.git
,theme name 則是 PaperMod,因此我們需要輸入
git submodule add --depth=1 https://github.com/adityatelange/hugo-PaperMod.git themes/PaperMod
由於 HUGO 的配置文件預設是 toml 格式,但是 PaperMod 主題配置文件格式是使用 yml 格式,因此需要修改一下。
刪除 hugo.toml 文件
rm hugo.toml
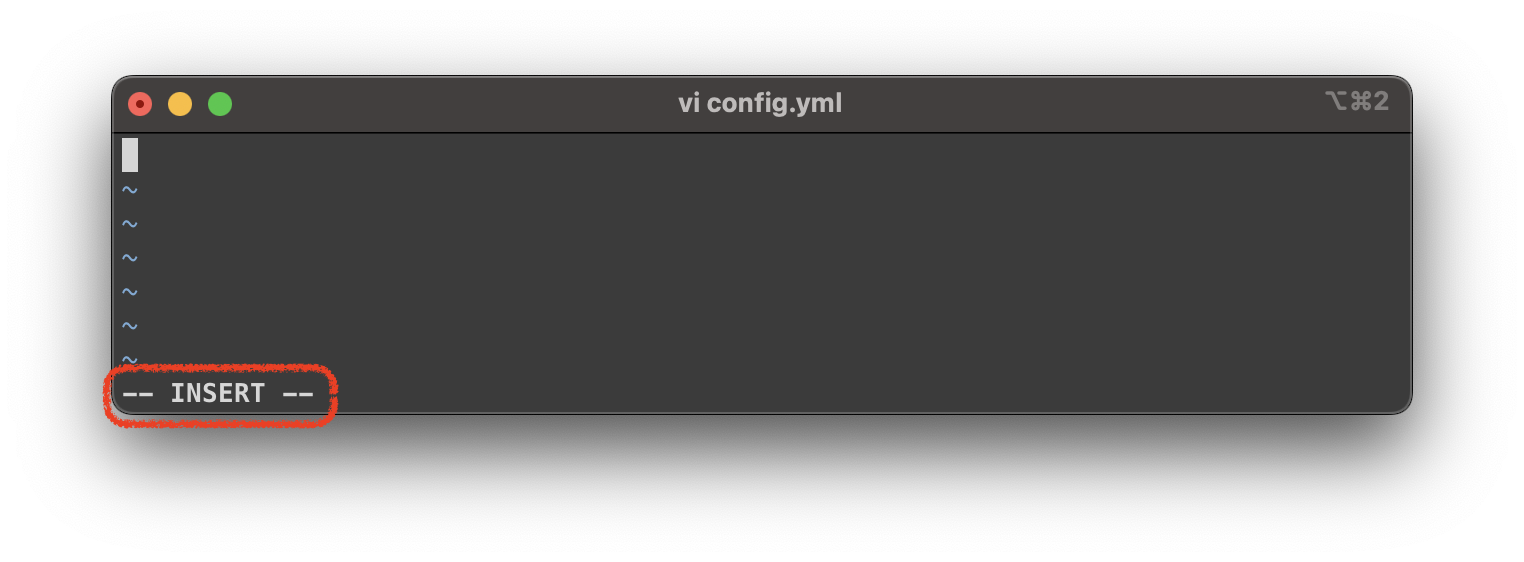
利用 vi 新增 config.yml 配置文件
vi config.yml
按下 i 開啟輸入模式,左下方會顯示 — INSERT —
複製將下方配置,貼上至 config.yml
baseURL: "https://examplesite.com/"
title: ExampleSite
paginate: 5
theme: PaperMod

enableRobotsTXT: true
buildDrafts: false
buildFuture: false
buildExpired: false

googleAnalytics: UA-123-45

minify:
  disableXML: true
  minifyOutput: true

params:
  env: production # to enable google analytics, opengraph, twitter-cards and schema.
  title: ExampleSite
  description: "ExampleSite description"
  keywords: [Blog, Portfolio, PaperMod]
  author: Me
  # author: ["Me", "You"] # multiple authors
  images: ["<link or path of image for opengraph, twitter-cards>"]
  DateFormat: "January 2, 2006"
  defaultTheme: auto # dark, light
  disableThemeToggle: false

  ShowReadingTime: true
  ShowShareButtons: true
  ShowPostNavLinks: true
  ShowBreadCrumbs: true
  ShowCodeCopyButtons: false
  ShowWordCount: true
  ShowRssButtonInSectionTermList: true
  UseHugoToc: true
  disableSpecial1stPost: false
  disableScrollToTop: false
  comments: false
  hidemeta: false
  hideSummary: false
  showtoc: false
  tocopen: false

  assets:
    # disableHLJS: true # to disable highlight.js
    # disableFingerprinting: true
    favicon: "<link / abs url>"
    favicon16x16: "<link / abs url>"
    favicon32x32: "<link / abs url>"
    apple_touch_icon: "<link / abs url>"
    safari_pinned_tab: "<link / abs url>"

  label:
    text: "Home"
    icon: /apple-touch-icon.png
    iconHeight: 35

  # profile-mode
  profileMode:
    enabled: false # needs to be explicitly set
    title: ExampleSite
    subtitle: "This is subtitle"
    imageUrl: "<img location>"
    imageWidth: 120
    imageHeight: 120
    imageTitle: my image
    buttons:
      - name: Posts
        url: posts
      - name: Tags
        url: tags

  # home-info mode
  homeInfoParams:
    Title: "Hi there \U0001F44B"
    Content: Welcome to my blog

  socialIcons:
    - name: twitter
      url: "https://twitter.com/"
    - name: stackoverflow
      url: "https://stackoverflow.com"
    - name: github
      url: "https://github.com/"

  analytics:
    google:
      SiteVerificationTag: "XYZabc"
    bing:
      SiteVerificationTag: "XYZabc"
    yandex:
      SiteVerificationTag: "XYZabc"

  cover:
    hidden: true # hide everywhere but not in structured data
    hiddenInList: true # hide on list pages and home
    hiddenInSingle: true # hide on single page

  editPost:
    URL: "https://github.com/<path_to_repo>/content"
    Text: "Suggest Changes" # edit text
    appendFilePath: true # to append file path to Edit link

  # for search
  # https://fusejs.io/api/options.html
  fuseOpts:
    isCaseSensitive: false
    shouldSort: true
    location: 0
    distance: 1000
    threshold: 0.4
    minMatchCharLength: 0
    keys: ["title", "permalink", "summary", "content"]
menu:
  main:
    - identifier: categories
      name: categories
      url: /categories/
      weight: 10
    - identifier: tags
      name: tags
      url: /tags/
      weight: 20
    - identifier: example
      name: example.org
      url: https://example.org
      weight: 30
# Read: https://github.com/adityatelange/hugo-PaperMod/wiki/FAQs#using-hugos-syntax-highlighter-chroma
pygmentsUseClasses: true
markup:
  highlight:
    noClasses: false
    # anchorLineNos: true
    # codeFences: true
    # guessSyntax: true
    # lineNos: true
    # style: monokai
貼上後按下 esc 然後輸入 :wq
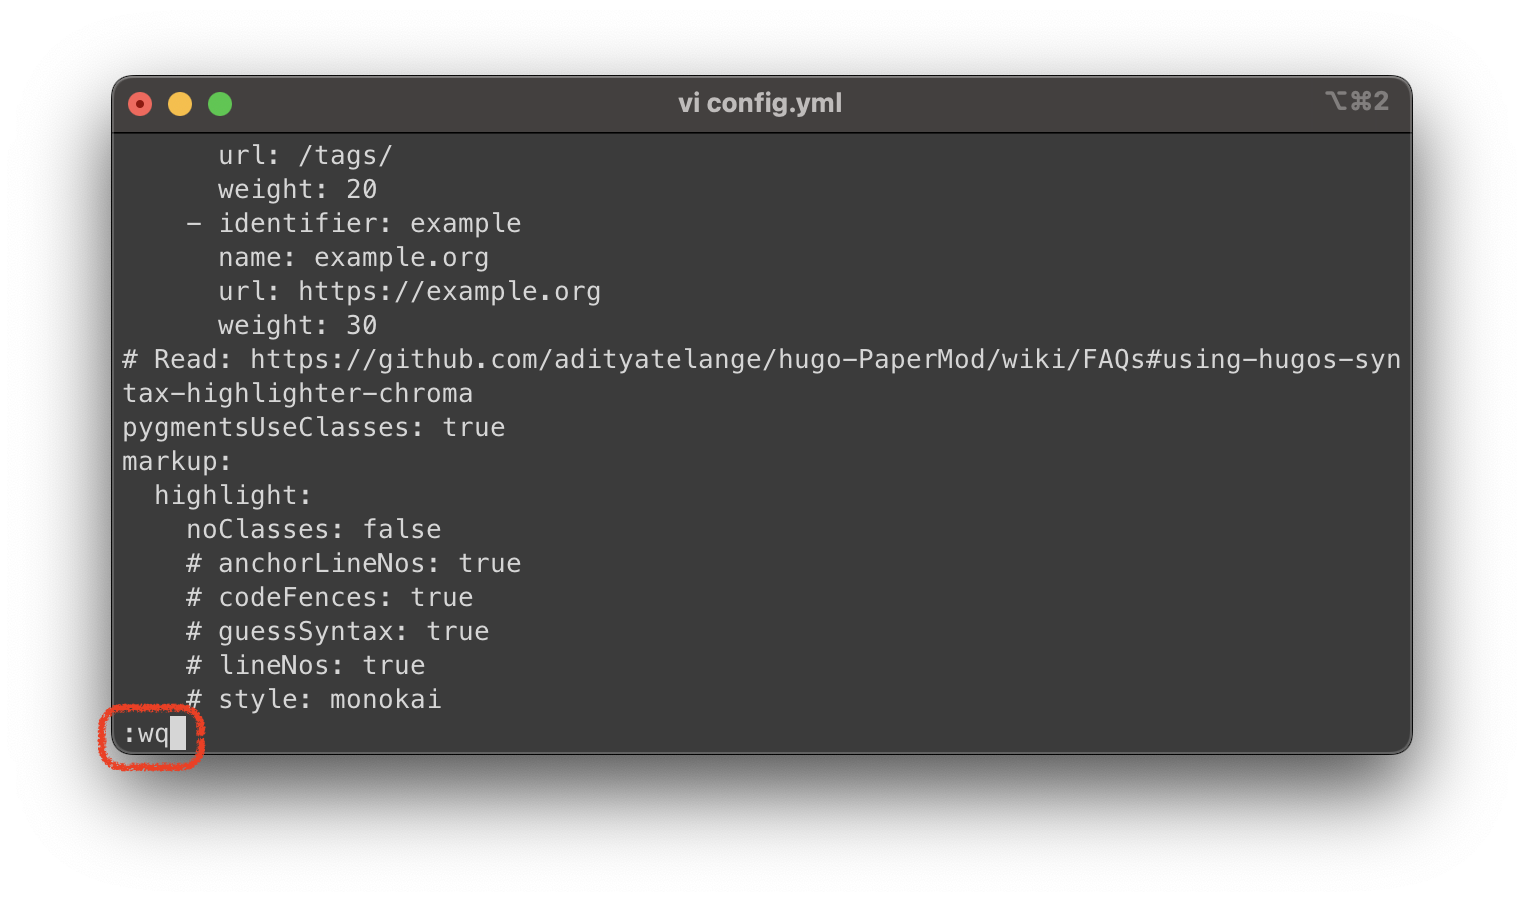
確定 :wq 有出現後按下 enter 即可存欓